How to Make Your Own Elderberry Syrup at Home

The Benefits of Homemade Elderberry Syrup
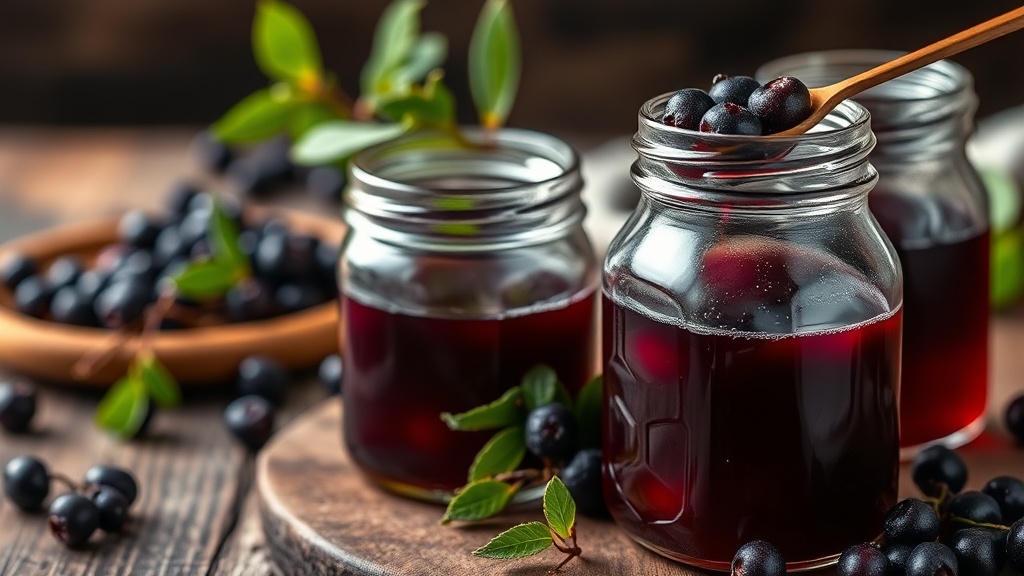
While many people reach for store-bought vitamin C supplements during cold and flu season, a single cup of cooked elderberries contains significantly higher concentrations of anthocyanins—the pigments responsible for their deep purple color and potent antioxidant properties. Making your own elderberry syrup at home allows you to control the quality of your ingredients, ensuring you aren't consuming the high-fructose corn syrup or artificial preservatives often found in commercial versions. This guide provides a reliable method for creating a nutrient-dense syrup that supports immune function through seasonal shifts.
Elderberries (Sambucus nigra) have been used in traditional herbalism for centuries to support the body's natural defenses. The primary active compounds in these berries are flavonoids, which help reduce oxidative stress. By preparing this at home, you can also customize the flavor profile with warming spices like ginger or cinnamon, which can be particularly soothing when you are feeling under the weather. If you are looking to expand your pantry with other functional botanicals, you might also find value in learning how to make your own nettle tea to complement your seasonal wellness toolkit.
Essential Ingredients and Equipment
To ensure a successful batch, you must use high-quality, dried elderberries. While fresh berries are available in some regions, dried berries are more shelf-stable and easier to source through reputable herbal suppliers like Mountain Rose Herbs or Starwest Botanicals. Using dried berries also ensures that the toxic compounds naturally present in raw elderberry plants (such as cyanogenic glycosides) are neutralized through the heating process.
The Ingredient List
- 1 cup Dried Elderberries: Ensure they are strictly Sambucus nigra.
- 3 cups Filtered Water: Using filtered water prevents chlorine or heavy metals from affecting the flavor and shelf life.
- 1 cup Raw Honey: Raw honey retains its natural enzymes. Avoid using honey if you are serving this to infants under one year old due to the risk of botulism.
- 2 tablespoons Fresh Ginger: Grate the ginger finely to increase its surface area for better infusion.
- 1 Cinnamon Stick: Provides warmth and helps balance the tartness of the berries.
- ½ teaspoon Whole Cloves: Adds a deep, spicy note and additional antioxidant support.
Required Kitchen Tools
- Medium Saucepan: A stainless steel or glass pot is preferable to avoid any metallic leaching during the simmering process.
- Fine Mesh Strainer: Essential for removing the berry skins and solids.
- Cheesecloth: For a smoother, more refined syrup texture.
- Glass Storage Jars: Ideally amber-colored glass bottles to protect the syrup from light degradation.
Step-by-Step Preparation Instructions
The process of making elderberry syrup is a slow decoction, meaning we are simmering the ingredients to extract the maximum amount of beneficial compounds. Follow these steps precisely to ensure the syrup is both safe and effective.
Step 1: The Decoction Phase
Place the dried elderberries, filtered water, grated ginger, cinnamon stick, and whole cloves into your saucepan. Bring the mixture to a gentle boil over medium-high heat. Once the liquid reaches a boil, immediately reduce the heat to low. Cover the pot with a lid to prevent excessive evaporation of the liquid, but leave a small crack for steam to escape. Let the mixture simmer for approximately 45 to 60 minutes. You will know it is finished when the liquid has reduced by about half and looks dark and concentrated.
Step 2: Straining the Mixture
Remove the saucepan from the heat. Place your fine-mesh strainer over a heat-proof glass bowl. Pour the hot liquid through the strainer to catch the elderberries and spices. To ensure you extract every last bit of the concentrated liquid, use a piece of cheesecloth to squeeze the berries firmly. This "press" is crucial, as the most potent nutrients are often held within the softened skins. Once the liquid has passed through, discard the leftover berry pulp and spices in your compost bin.
Step 3: Adding the Honey
Allow the liquid to cool down until it is lukewarm. This is a critical step: do not add the honey to boiling liquid. High heat can destroy the delicate enzymes and nutritional integrity of raw honey. Once the liquid is at a temperature where you can comfortably touch it with your finger, stir in the one cup of raw honey. Mix thoroughly until the honey is completely dissolved and the texture is uniform. If you prefer a thinner consistency, you can add a splash more filtered water at this stage.
Step 4: Bottling and Storage
Pour the finished syrup into sterilized glass jars or amber glass bottles. It is best to use dark glass, as light can break down the anthocyanins over time. Label your jar with the date of production. Store the syrup in the refrigerator. Because this is a homemade product without chemical preservatives, it has a limited shelf life. Most homemade elderberry syrups will remain potent and safe to consume for approximately 2 to 3 months when kept refrigerated.
Dosage and Usage Guidelines
When using elderberry syrup as a seasonal wellness support, consistency and moderation are key. Because this is a concentrated herbal preparation, it is not a replacement for medical treatment but a tool for holistic support. During times of high stress or seasonal transitions, many people incorporate a small amount into their daily routine.
Adult Dosage: A standard serving is typically 1 tablespoon per day for general wellness. If you feel the onset of a seasonal chill, some practitioners suggest taking 1 tablespoon up to three times daily for a short duration. Child Dosage: For children over the age of one, a dosage of 1 teaspoon per day is common. Always consult with a pediatric healthcare provider before introducing new herbal supplements to a child's diet.
You can incorporate this syrup into your daily rituals in several ways. Stir a spoonful into a mug of warm water, or use it as a natural sweetener for your morning tea. If you already enjoy a morning ritual involving citrus, you may find it helpful to combine the syrup with warm water and lemon, similar to drinking warm lemon water every morning, to create a potent, warming tonic.
Safety Precautions and Quality Control
While elderberry is generally considered safe for most people, there are specific protocols to follow to ensure you are consuming it correctly and safely.
Important: Never consume raw elderberries. Raw elderberries, as well as the leaves and stems of the plant, contain cyanogenic glycosides which can cause nausea, vomiting, and severe digestive distress. Always ensure the berries are thoroughly cooked during the decoction process to neutralize these compounds.
Potential Interactions: If you are currently taking immunosuppressant medications, consult your physician before using elderberry. Because elderberry may stimulate the immune system, it can theoretically interfere with medications designed to suppress immune activity. Additionally, if you have an autoimmune condition such as Lupus or Rheumatoid Arthritis, professional medical guidance is recommended.
Storage Integrity: Always use a clean spoon when scooping the syrup from your jar to prevent cross-contamination. If you notice any signs of mold, a change in smell, or an unusual fizzing sensation (which indicates fermentation), discard the batch immediately. Keeping the syrup refrigerated is the most effective way to maintain its stability and prevent spoilage.
Customizing Your Syrup
Once you have mastered the basic recipe, you can experiment with different botanical additions to suit your palate or specific wellness goals. The base of water, elderberries, and honey is highly versatile.
- For Extra Warming: Increase the amount of fresh ginger or add a teaspoon of ground turmeric. This can be a great addition to your evening routine if you enjoy incorporating turmeric into your routine.
- For Citrus Notes: Add the zest of one organic orange to the simmering liquid. The citrus oils add a bright, uplifting aroma and a slight acidity that balances the heavy sweetness of the honey.
- For Floral Undertones: A small amount of dried rose hips can be simmered alongside the berries to add a subtle floral note and an extra boost of Vitamin C.
By making your own elderberry syrup, you are reclaiming a piece of traditional wellness knowledge. It is a slow, intentional process that rewards you with a high-quality, customizable tonic that fits seamlessly into a holistic lifestyle.
Steps
- 1
Simmer the berries and spices
- 2
Mash and strain the mixture
- 3
Add honey and cool
- 4
Store in the refrigerator